
Read the diagram as text
Measure range directly. Move along a route you can actually use. These two maps are examples.
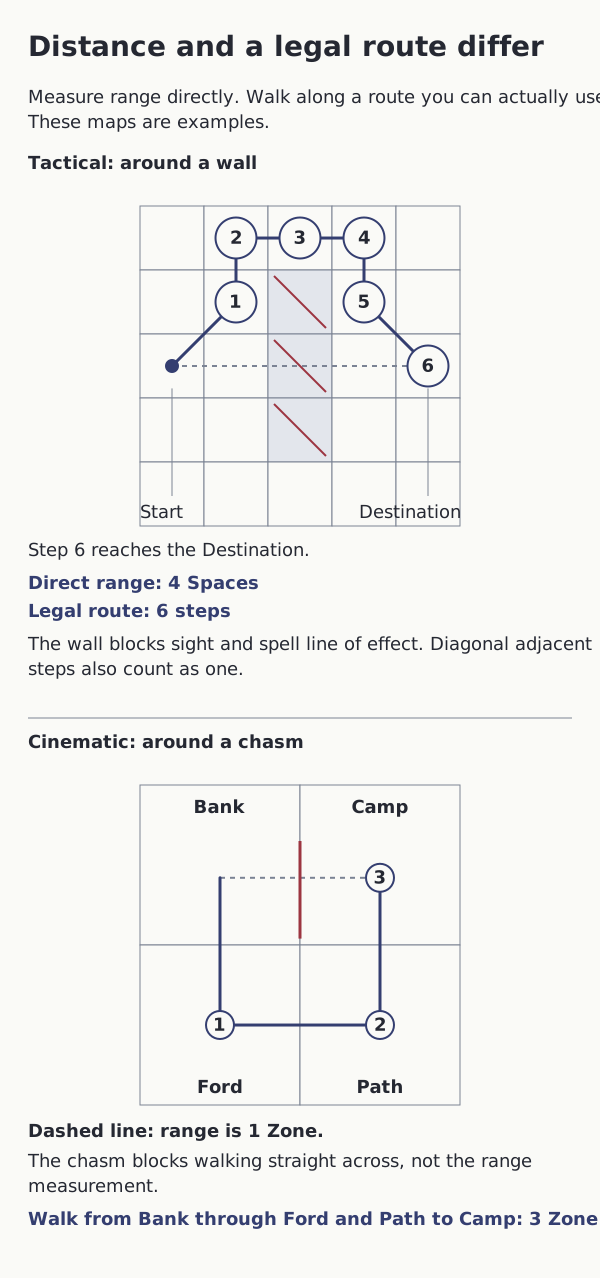
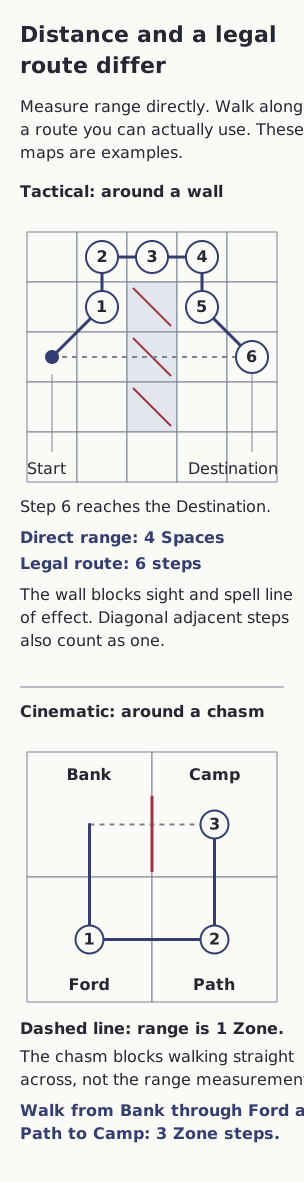
- On the square map, count the fewest adjacent Space steps from Start to the empty Destination: four. The wall does not increase this range.
- For movement, follow the shown legal route around the wall. Its six steps are all numbered, including arrival. Up, down, left, right and diagonal adjacent steps each count as one; blocked corners cannot be crossed.
- The wall still blocks ordinary sight and line of effect. Range alone does not permit an attack through it.
- On the Zone map, Bank and Camp are adjacent, so the direct range is one Zone. Their chasm has no direct walking connection.
- Ordinary movement instead follows Bank to Ford to Path to Camp: three connected Zone steps. Sight and line of effect are clear across the example chasm.
Result: A barrier can force a longer movement route without increasing the direct range measurement.
- The Tactical destination is empty. Normal occupancy, target, cost and action requirements still apply. Hex maps count edge-adjacent steps.
- Zone shapes are fictional examples, not fixed ten-metre rooms. These maps grant no attack, successful hit or free movement.